
Medical Device Prototyping: Your Go-to Guide
Medical Device Prototyping: Your Go-to Guide
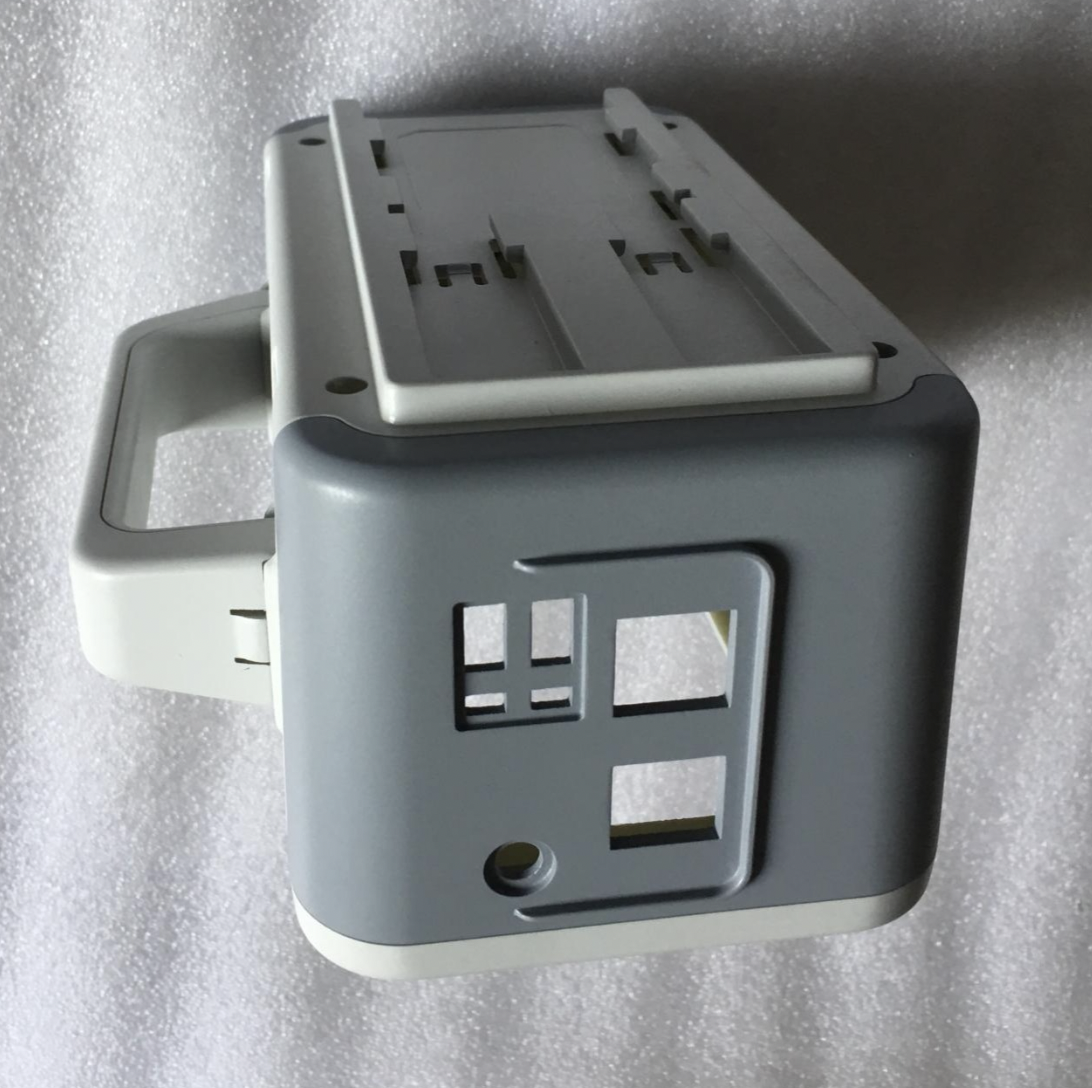
What Is Medical Device Prototyping?
Medical device prototyping is creating a physical or digital three-dimensional model of your medical device concept. This model allows you to visualize your design tangibly, test its functionality in a simulated environment, and gather feedback from potential users and stakeholders.
Here are some examples types of prototypes used for medical devices:
- A mobile app that uses a phone’s camera to monitor chronic skin conditions, allowing patients to track progress at home
- A foam prototype of a new grip design for a surgical tool, allowing the team to assess comfort and maneuverability before investing in a more complex model
- A 3D-printed model of a custom dental implant, allowing for precise pre-surgical planning and ensuring a perfect fit before manufacturing the actual implant.
How Does Medical Device Prototyping Work?
Medical device prototyping is an iterative process that involves translating a concept into a physical model. Here’s a simplified overview of the process.
1. Creating the Concept
A team of healthcare professionals, engineers, and designers identifies a specific medical need — it could be a cumbersome diagnostic procedure or a lack of user-friendly treatment options. Through in-depth research, they explore existing solutions and brainstorm possibilities for a more efficient, user-friendly, or cost-effective approach.
For example, a group of doctors might recognize a need for better monitoring of patients in remote areas. They brainstorm and research, leading to the idea of a wearable device called Vitality Pro that can track vital signs and send data to healthcare providers in real time.
2. Design and Engineering
In the product design stage, engineers translate the team’s ideas into detailed technical drawings, meticulously considering factors like material selection, functionality, and user comfort. Functionality is an important consideration in this stage. The design must ensure the device performs its intended tasks effectively.
Usability is paramount at this stage as well. Engineers prioritize ergonomics and intuitive design to ensure the device is comfortable and easy for healthcare professionals and patients to use in real-world settings.
Engineers consider safety and regulatory compliance as part of their process. A crucial aspect is the chemical compatibility of plastics — remember, these materials could be exposed to alcohol or other cleaning chemicals during regular wipe-downs. Engineers make sure your designs are ready to withstand this kind of treatment while staying compliant with regulations.
For example, based on the doctors’ concept, engineers create detailed sketches and 3D models of Vitality Pro. They consider factors like size, weight, comfort, and battery life. They also specify the type of sensors needed to track vital signs and the communication technology for data transmission.
3. Fabricating the Prototype
With a blueprint in hand, it’s time to fabricate the prototype. This initial model may not be perfect aesthetically, but it’s a starting point. Teams can employ techniques like 3D printing, machining, or using readily available components to build a tangible model.
The focus at this stage is on functionality — you need to test the core functionalities of the device to see if it performs as intended. This allows the team to identify any potential flaws or areas for improvement before investing significant resources in a polished final product.
For example, employing 3D printing, the prototyping engineers create a prototype casing. Electronic components like sensors and microprocessors are sourced and assembled following the engineering plans.
4. Assembly and Integration
The next stage involves assembly and integration. This is like putting together a puzzle and carefully assembling the various parts to ensure seamless operation. Here, the engineering team verifies that all components work together effectively without technical glitches. This meticulous assembly ensures the final device functions as a cohesive unit.
For example, the engineering team brings Vitality Pro to life by assembling its various components. The 3D-printed casing, designed for comfort and a snug fit, becomes the foundation. Tiny sensors for heart rate and temperature — the eyes and ears of the device — are strategically placed within the casing. The team then integrates the microprocessor, the brain of Vitality Pro, which processes the raw data collected by the sensors and prepares it for transmission.
5. Testing and Evaluation
Once assembled, it’s time for testing and evaluation. Healthcare professionals or potential users (patients) rigorously evaluate the prototype in simulated or controlled environments. This stage is crucial for gathering valuable feedback on the user interface, performance, and durability of the device.
Users might comment on the device’s comfort, ease of use, or effectiveness. This feedback then informs the iterative refinement stage, where the team goes back to the drawing board and makes changes based on the testing results. This cycle of testing and refining continues until the prototype performs well and meets the identified medical need.
In large medical companies, the testing and evaluation process can span months, or even years, and often involves a global network of test subjects.
For example, the Vitality Pro undergoes simulated scenarios in which volunteers wear it and the product development team evaluates its accuracy in measuring vital signs (like heart rate and blood pressure). Additional tests might assess factors like user comfort, battery life, and data transmission reliability during simulated use.
6. Iterative Refinement
Iterative refinement is a crucial stage in the medical device development process where the prototype undergoes continuous improvement based on real-world testing and feedback. Think of it like sculpting a piece of clay — with each iteration, you remove imperfections and refine the shape until you achieve the desired form.
For example, based on test results, the engineers might adjust the design of the Vitality Pro to improve comfort by making it lighter or redesign the casing for a better fit.
7. Verification and Validation
During this phase, the built prototype undergoes a final round of rigorous testing to confirm it meets the specified design requirements and functions as intended.
The verification process ensures that the prototype is made according to the established specifications, while validation ensures it performs correctly in real-world conditions. This comprehensive testing process helps identify and rectify any discrepancies or issues before moving forward with production.
For example, once the company has the final product ready, it is time for one last test. The company may hire people or gather volunteers to wear the device to ensure it is functional and ready for the final stages.
8. Regulatory Compliance
Before reaching the target market (patients, doctors, or medical institutions), the device needs a green light from regulatory bodies. These agencies — such as the FDA — exist to safeguard patient safety and ensure medical devices are effective.
The prototype is assessed against established laws, regulations, and policies. This might involve documentation review and rigorous material testing to ensure biocompatibility and adherence to specific manufacturing standards.
9. Production Scaling
With the prototype perfected and regulatory hurdles cleared, it’s time to bring the vision to life. Production processes are meticulously planned and optimized for larger quantities. This involves selecting the most efficient manufacturing techniques and establishing robust quality control measures to ensure the best customer experience.
Search
Recent Post


Other New Articles


